


Akupanel | Acoustic Panel
Natural Wood, Walnut, Black Felt, 240 x 60 cm
Incl. GST, plus shipping
Black Friday Sale: 25% off all products. Early access from Sat 21 Nov
When mounting acoustic panels, electrical outlets and switches can often feel like an obstacle. However, when handled correctly, they can actually become a stylish design feature. Here are some ideas and tips on how to integrate them for a result that is both sleek and highly functional.
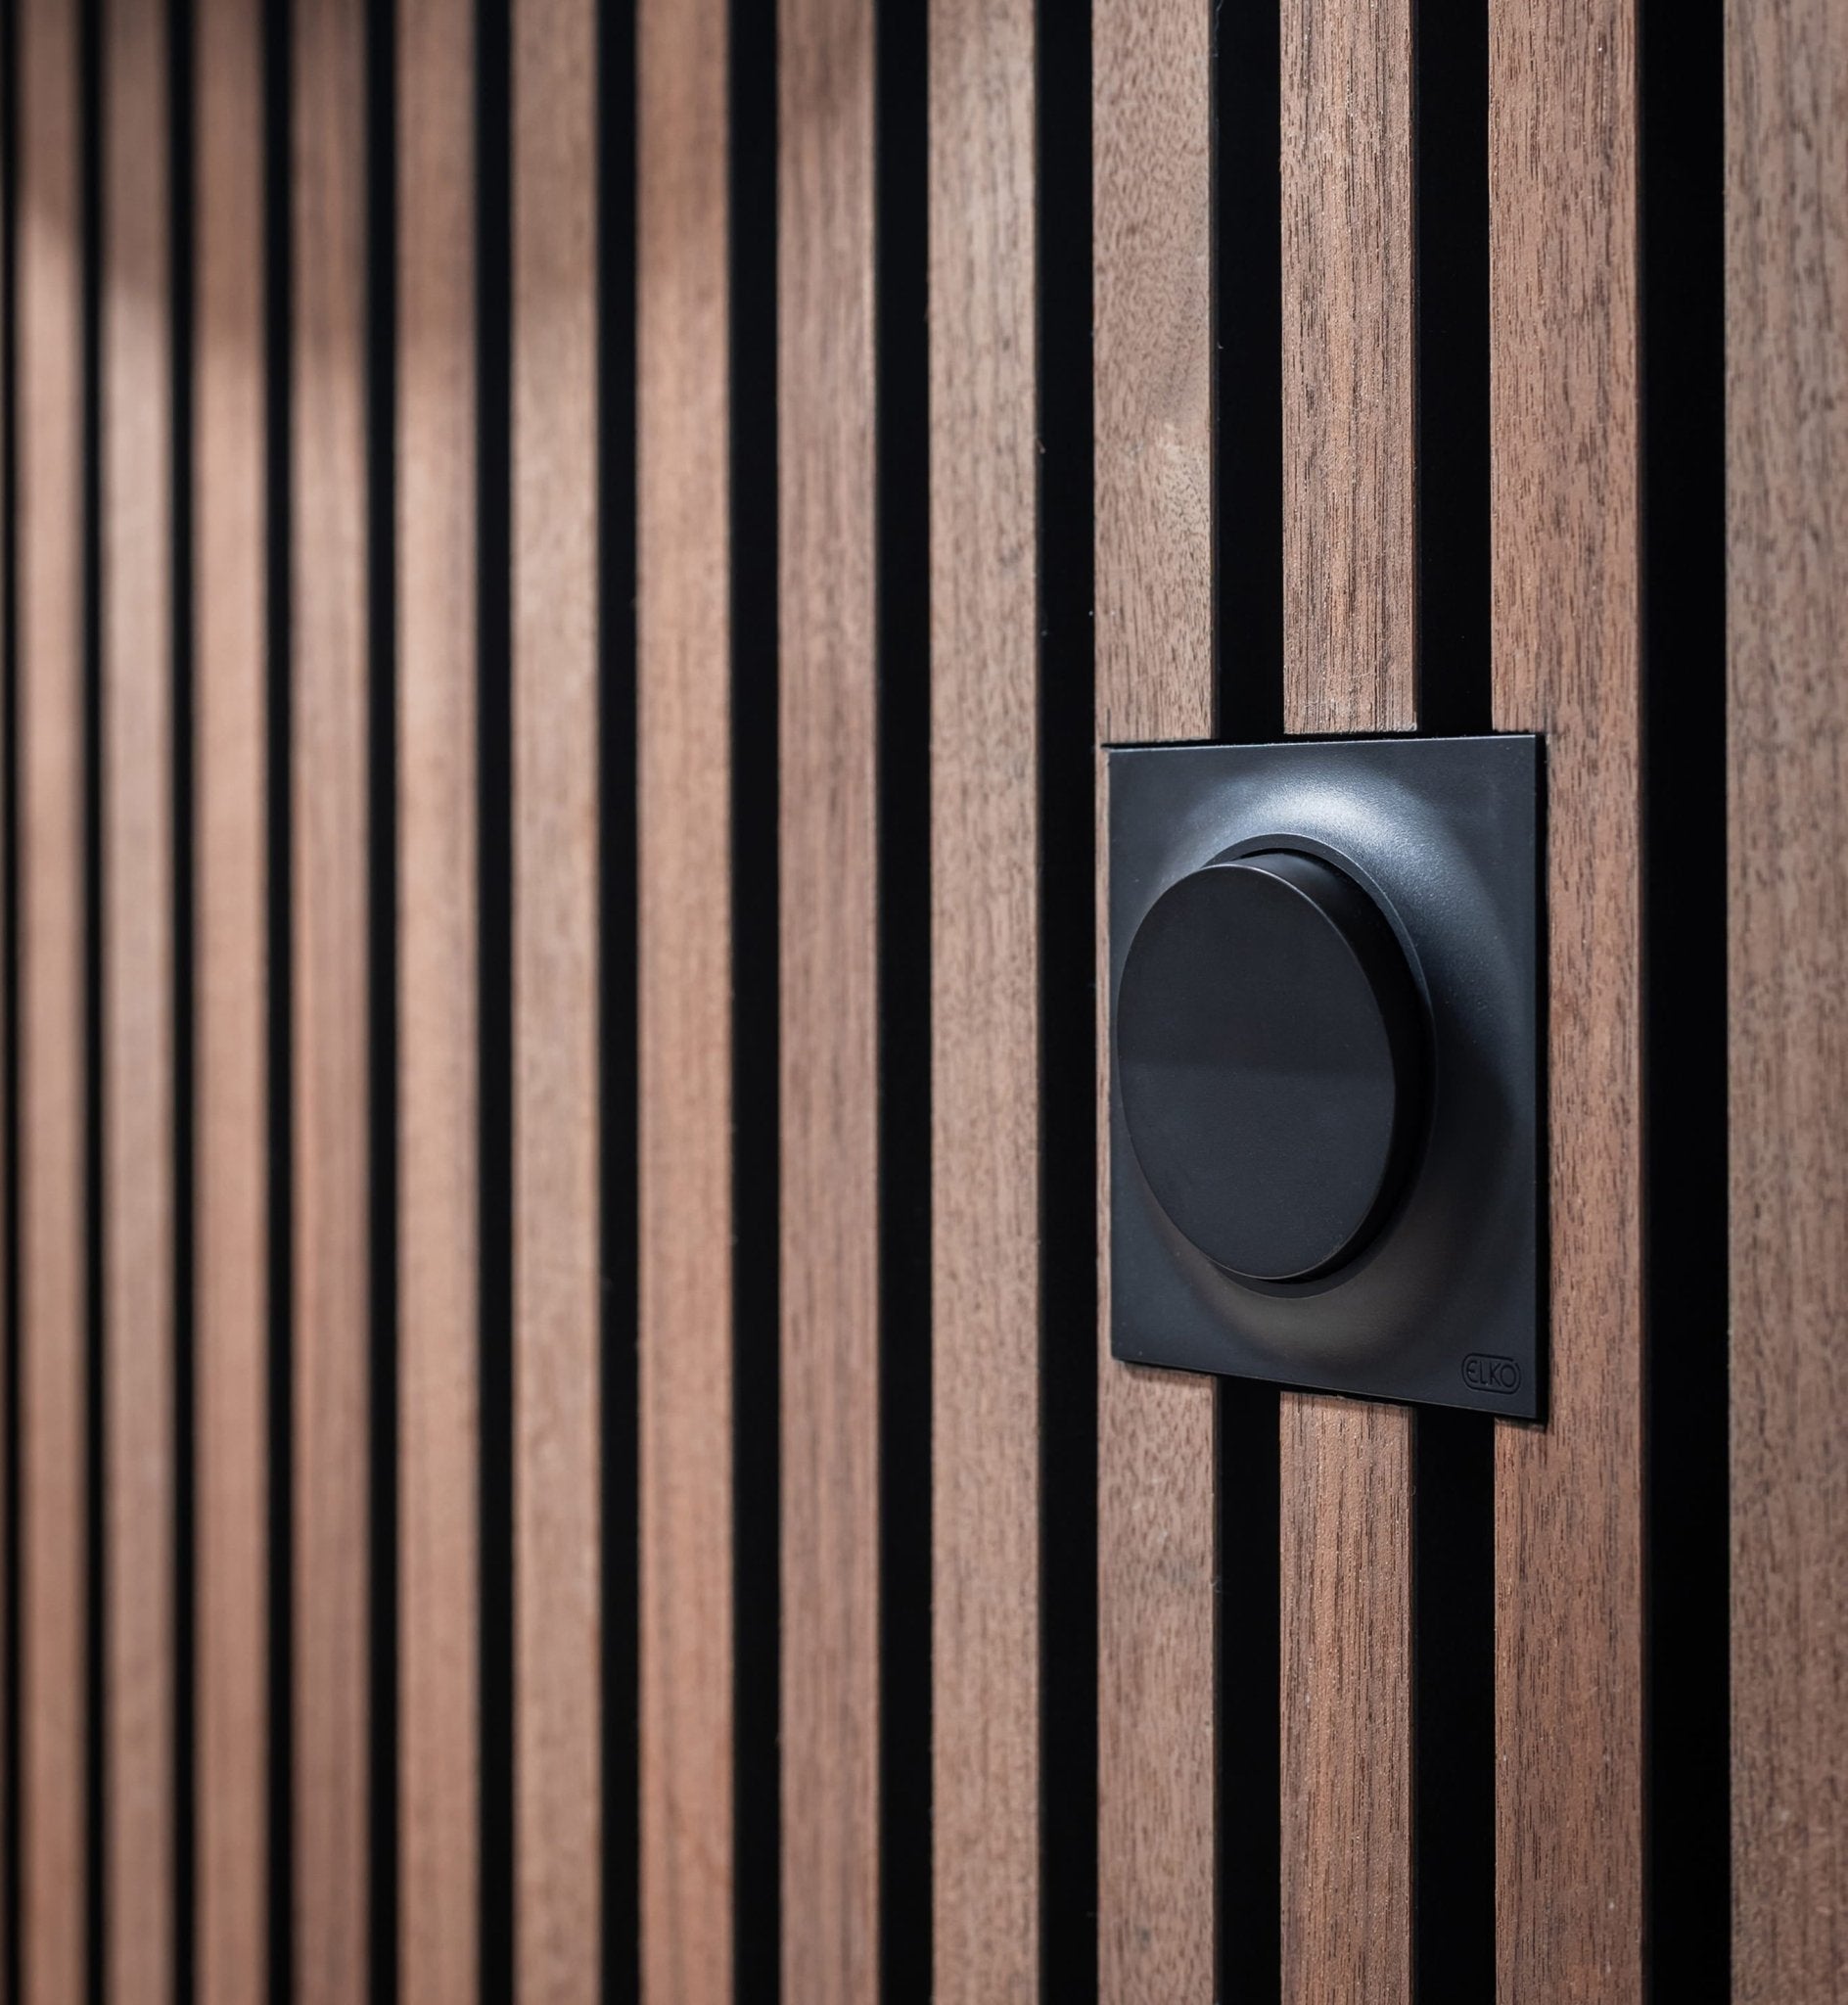
There are two ways to do it:
Mount it on the face of the panel, or bring it level with the slats for a flush finish.
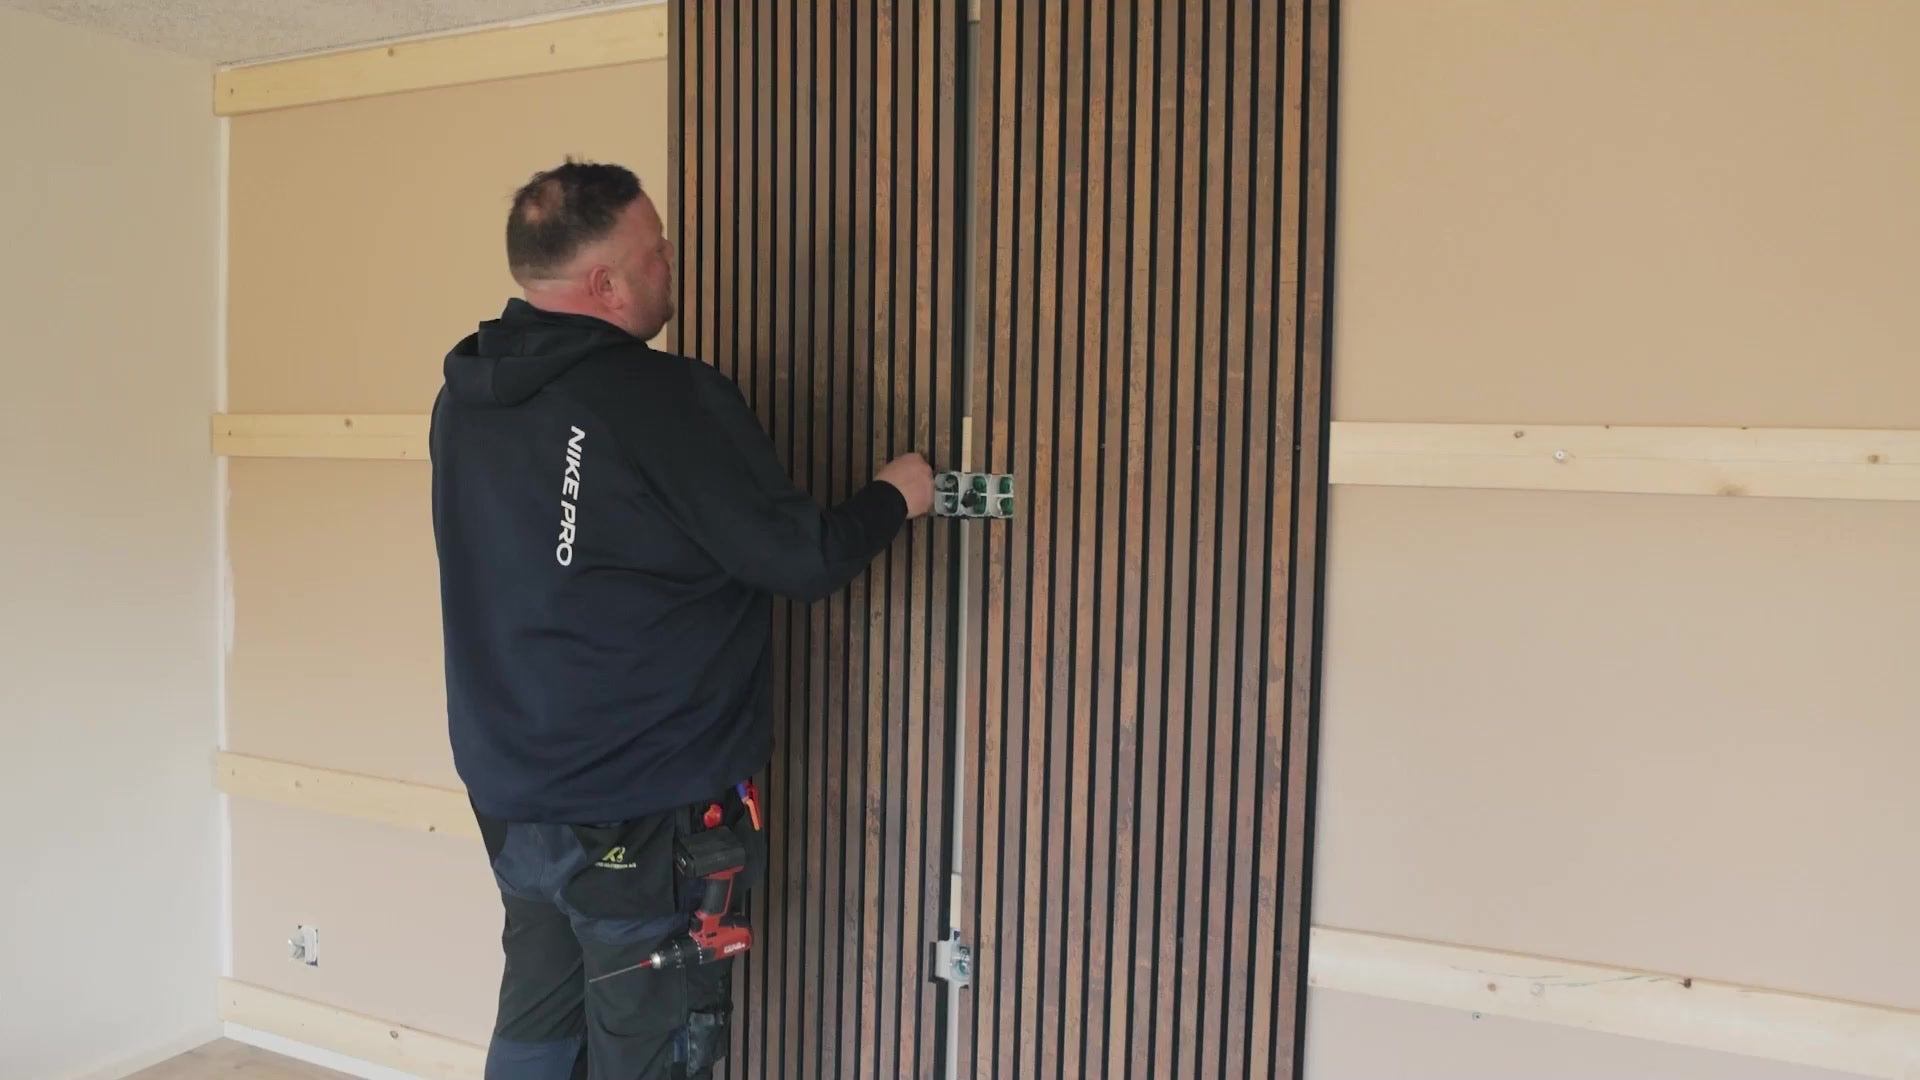
Watch the film to see the whole job, from the battens on the wall to the finished outlet. Below, we go through both options, the cut-out step by step — battens included — and a few ideas for choosing outlets that suit your wall.
Add chapter blocks to build this list.
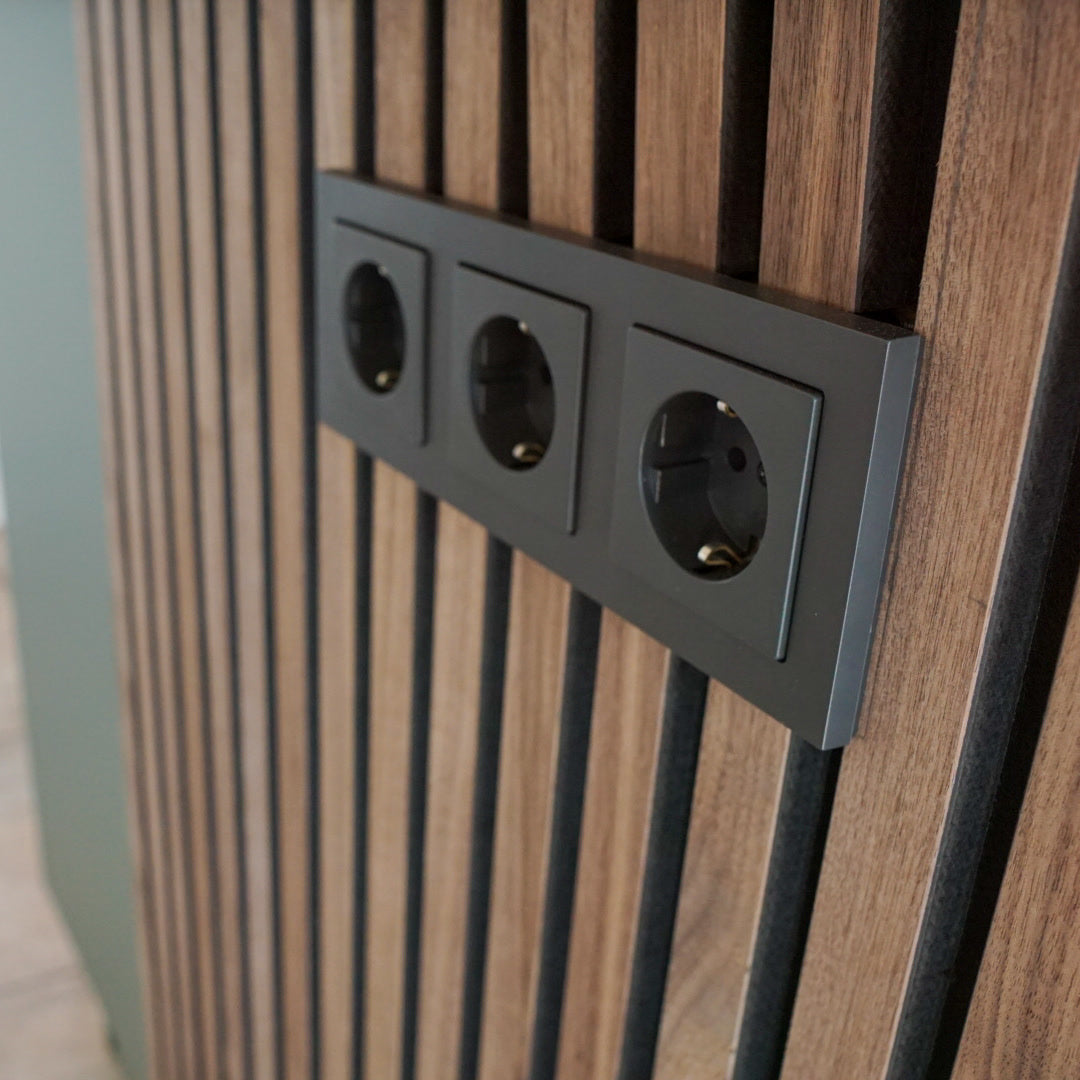
The easiest way: Mount the outlet straight onto the front of the slats.
Your electrician fits the outlet on the face of the panel, so the frame sits just in front of the slats. It's a clean, simple solution — and with the right outlet, it reads as a natural part of the wall rather than something added afterwards.
It works for single outlets, for switches and for longer rows like the one in the picture.
✔️ Simple to plan and fit
✔️ The outlet frame sits on the face of the slats
✔️ Works for switches, single outlets and rows
Explore Akupanel Walnut
Natural Wood, Walnut, Black Felt, 240 x 60 cm
Incl. GST, plus shipping
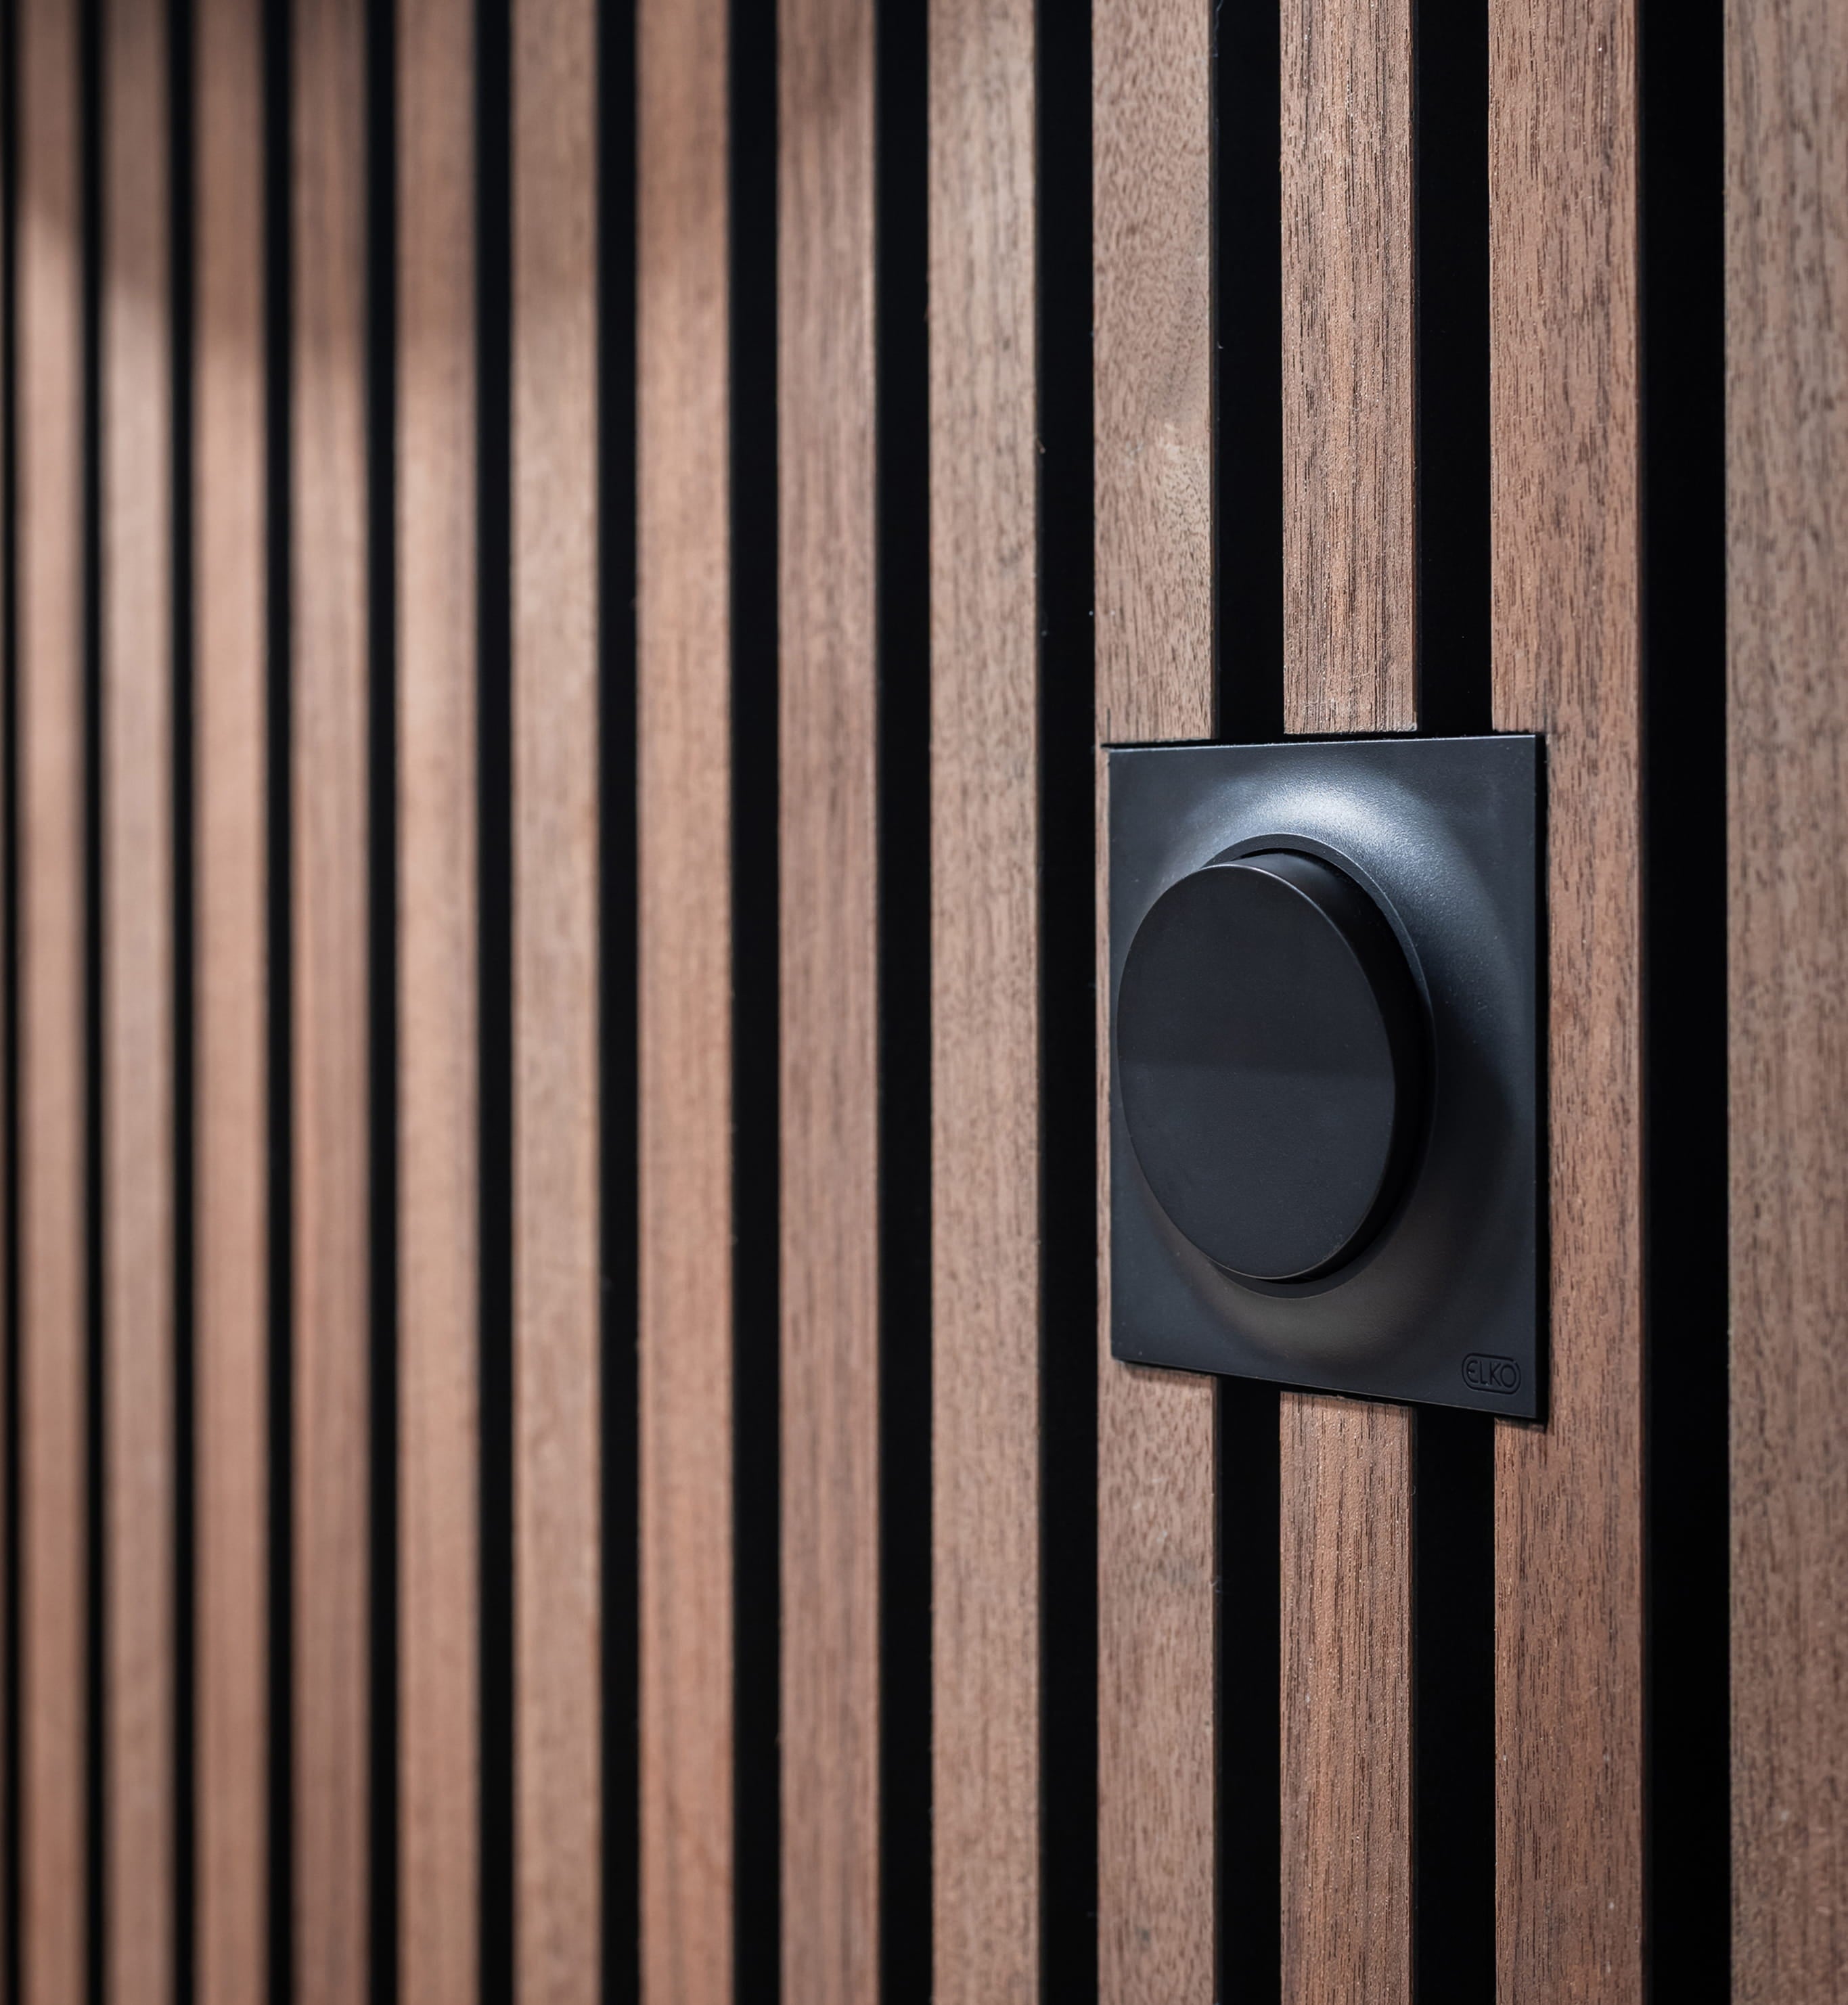
For the sleekest look, the outlet sits exactly level with the slats.
To get there, a certified electrician brings the outlet forward with an adaptor box, so its face lands at the same depth as the panel surface. Nothing sticks out, nothing sinks behind the slats — just one even surface. The same works for a switch, like this one in Black Ash.
It takes a little more planning than mounting on the panel, so decide which finish you want before the first panel goes up.
✔️ The outlet face sits level with the slats
✔️ An adaptor box sets the depth
✔️ Fitted by a certified electrician
Explore Akupanel Black Ash

Natural Wood, Black Ash, Black Felt, 240 x 60 cm
Incl. GST, plus shipping
Most of the work happens before you pick up a saw.
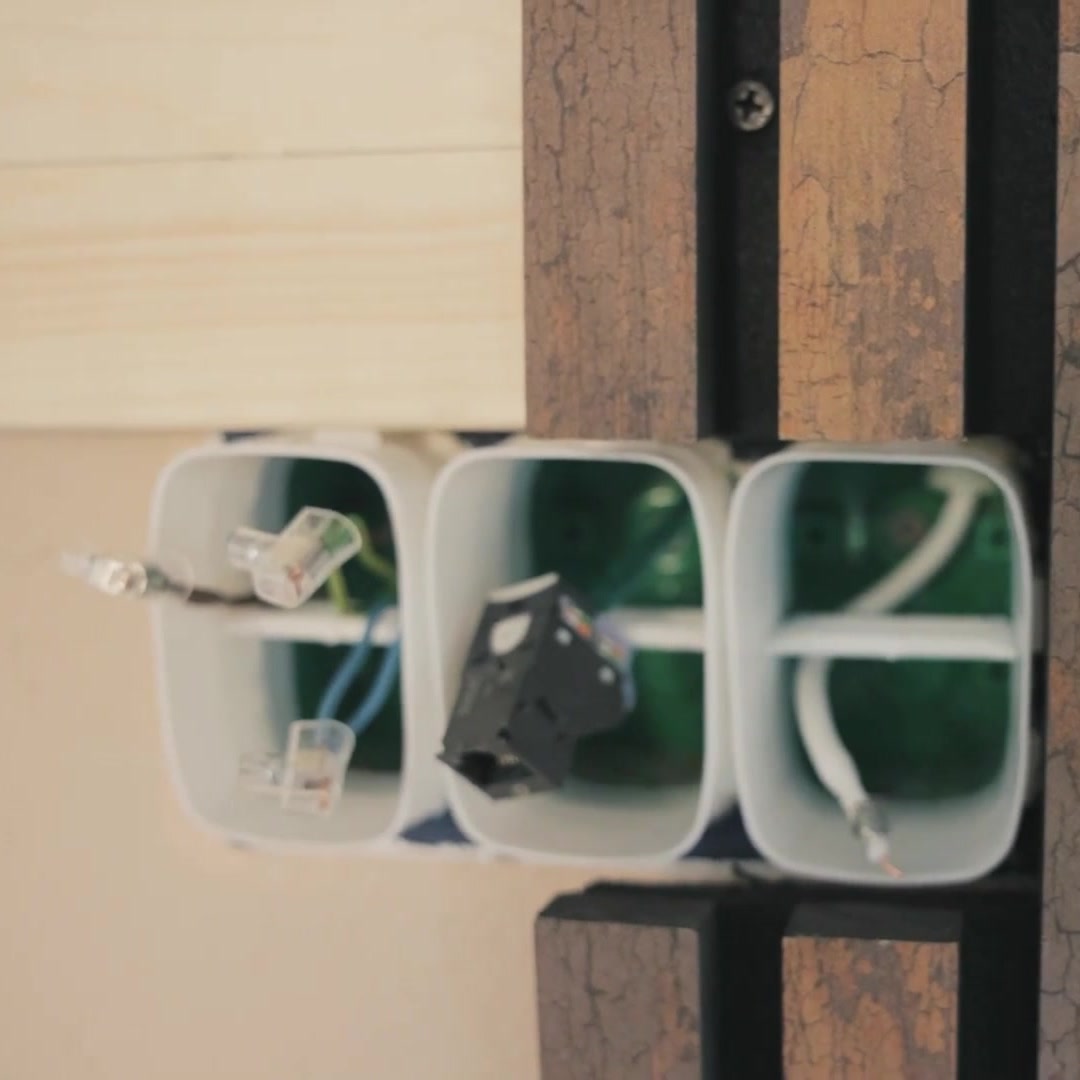
If you mount your Akupanel on battens, the panel sits a little further out from the wall. So the wall box has to come forward too: Your electrician extends it until it reaches the panel, like the boxes in the picture.
Place the battens so they run clear of the box rather than across it. That keeps the opening free when the panel goes up.
Battens also leave room for mineral wool behind the panels — and with battens and mineral wool, Akupanel reaches Class A sound absorption.
✔️ Leave all wiring to a certified electrician
✔️ Battens run clear of the wall box
✔️ The box is extended to meet the panel
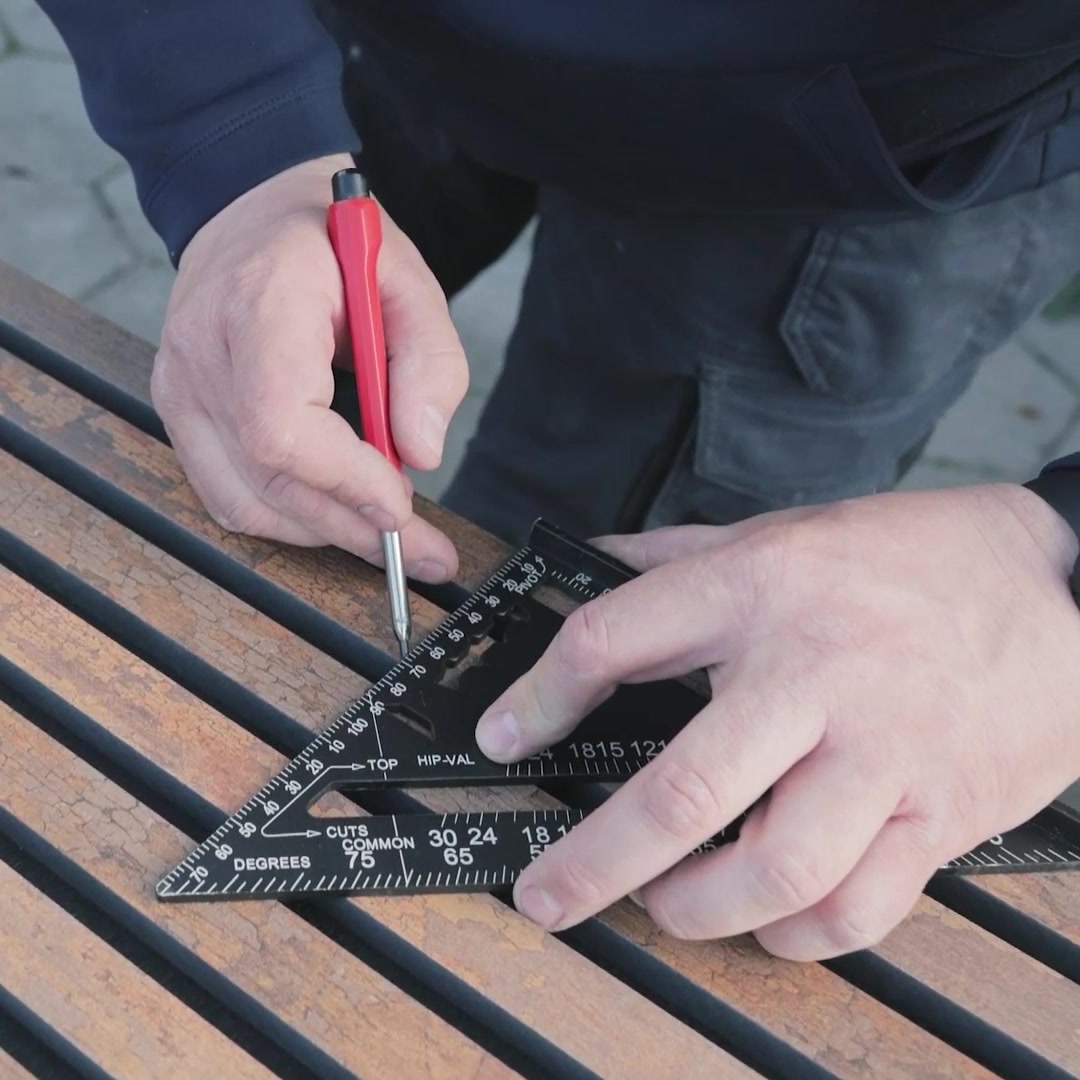
Measure twice, mark once.
Measure where the box sits on the wall — from the floor and from the edge of the last panel you fitted — and transfer those measurements to the front of the next panel. A carpenter's square keeps the lines straight across the slats.
Going on the panel? The faceplate covers the edges of the cut, so the opening only needs to clear the box. Going flush? Then the opening has to match the outlet frame exactly.
✔️ Measure from the floor and from the neighboring panel
✔️ Mark on the front of the panel
✔️ Size the opening to the method you chose
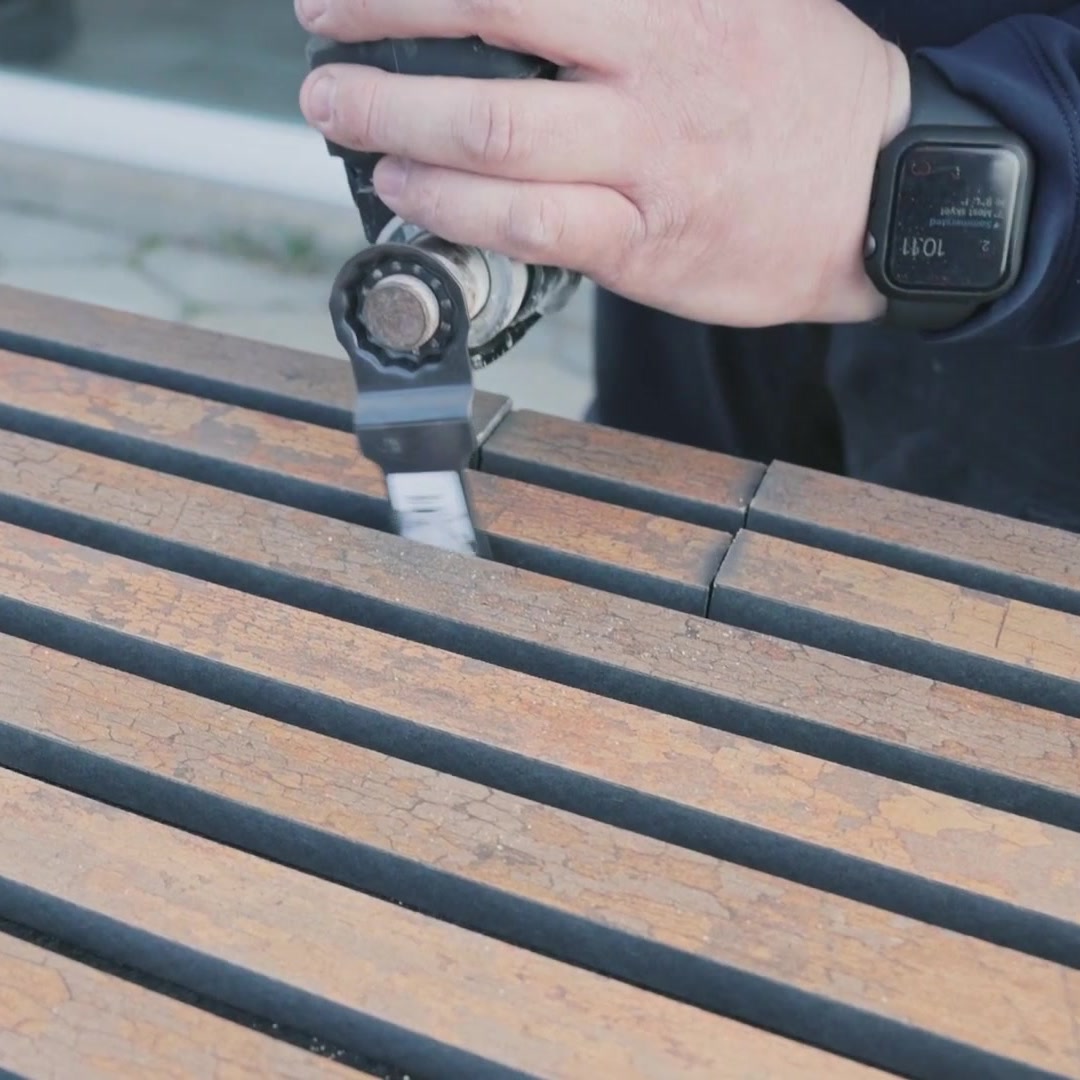
Take your time here: The edges of the cut are what everyone will see.
Lay the panel face up on a stable surface and cut along your marks, through the slats. An oscillating multi-tool gives clean, controlled cuts. Go slowly so the edges stay crisp.
✔️ Panel face up on a stable surface
✔️ An oscillating multi-tool
✔️ Slow, steady cuts for crisp edges
Turn the panel over and finish the opening from behind.
The slats sit on acoustic felt — the soft layer that absorbs sound. With the panel face down, cut through the felt along the opening with a sharp knife, so the hole goes all the way through.
Check the opening against the box before you take the panel to the wall.
✔️ Panel face down
✔️ A sharp knife
✔️ Test the opening against the box
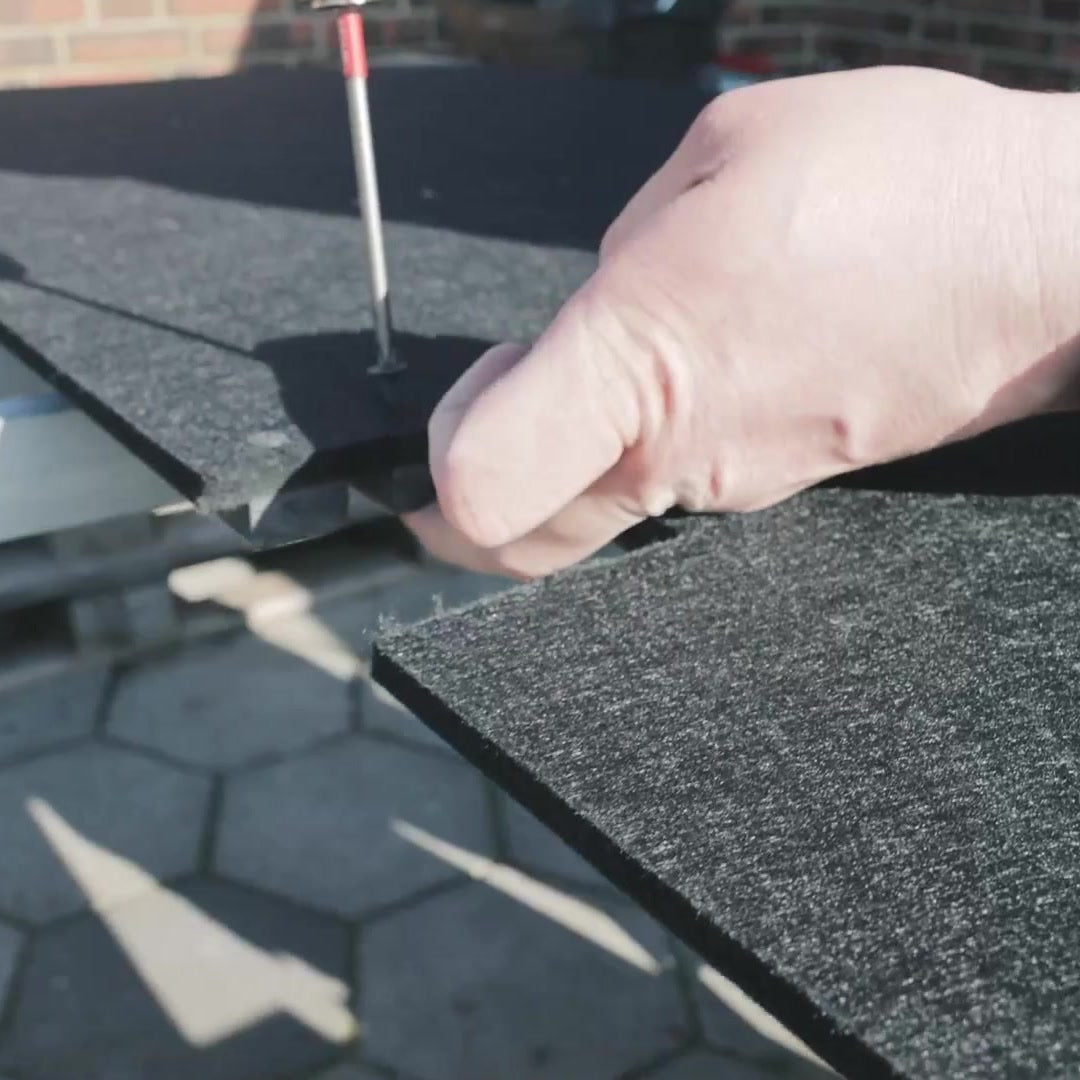
Now the panel goes up, over the box.
Lift it into place against the battens, guide the opening over the extended box and fix the panel to the battens with screws, as you would any other panel. The box now sits neatly inside the opening, ready for the electrician.
✔️ Opening lined up over the box
✔️ Panel screwed to the battens
✔️ Box sits inside the opening
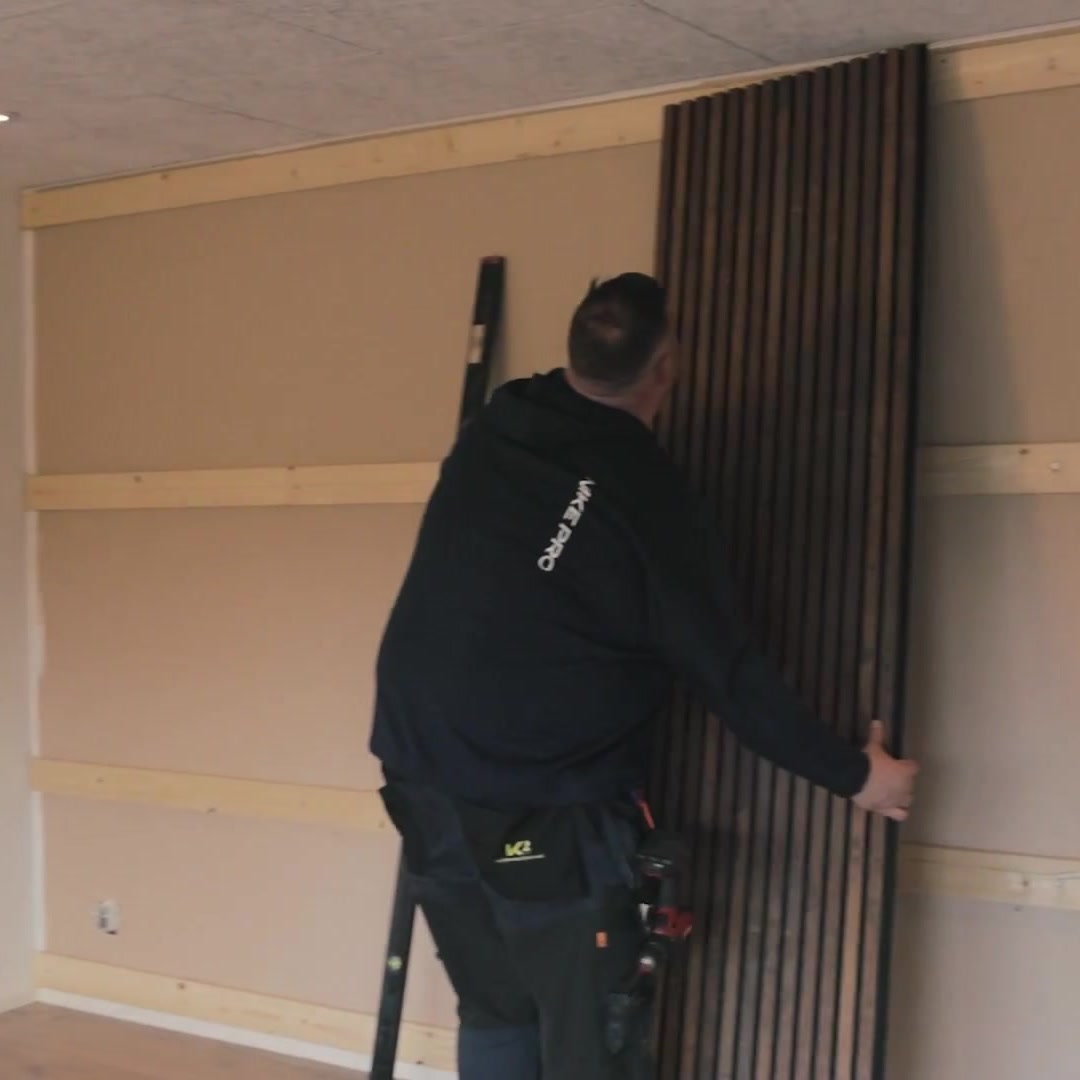
The last step is a job for a certified electrician.
They connect the outlet and fix it in place — on the face of the panel, or flush using the adaptor box. The faceplate goes on, and the outlet is part of the wall.
✔️ Always a certified electrician
✔️ Outlet fixed on the panel or flush
✔️ Faceplate on, and you're done
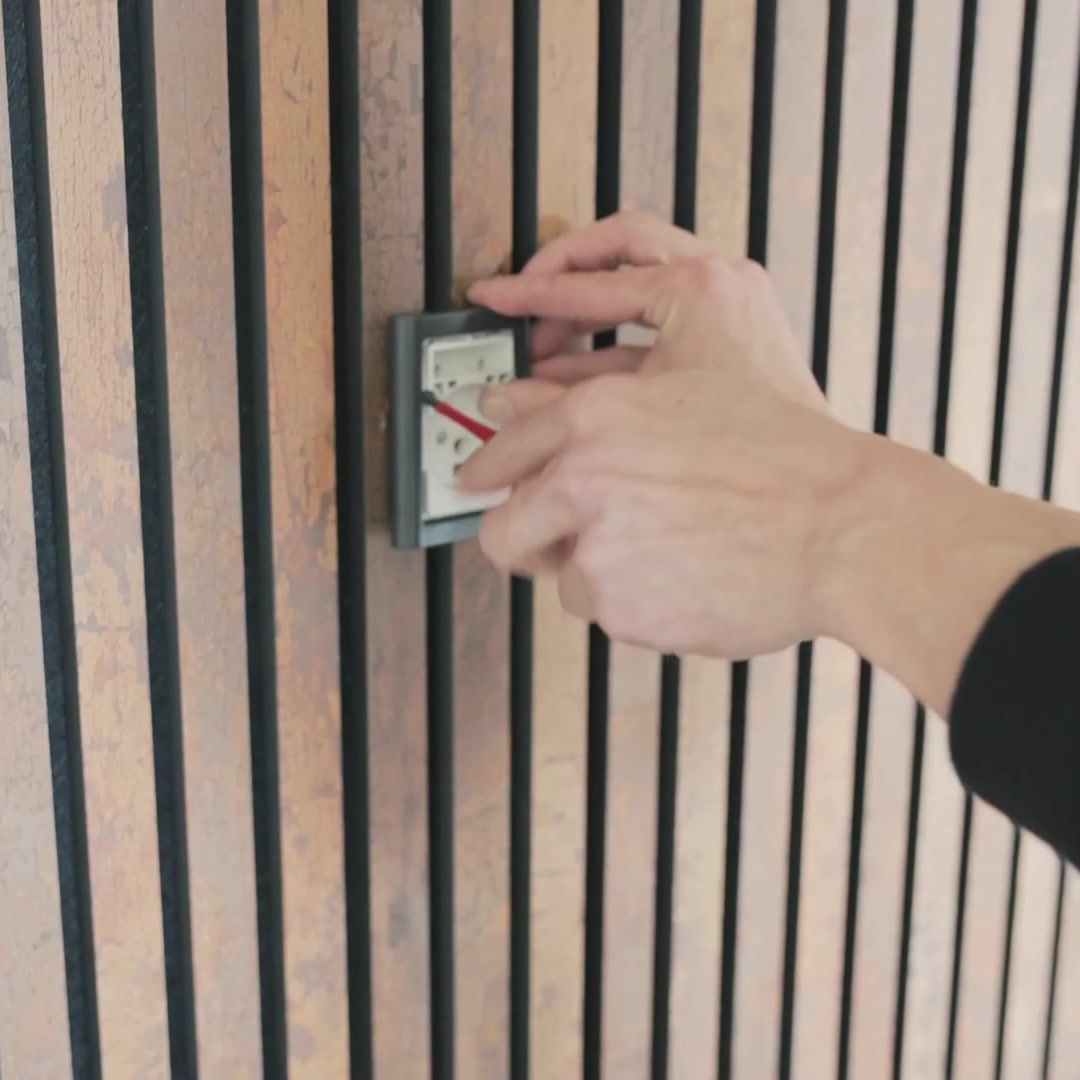
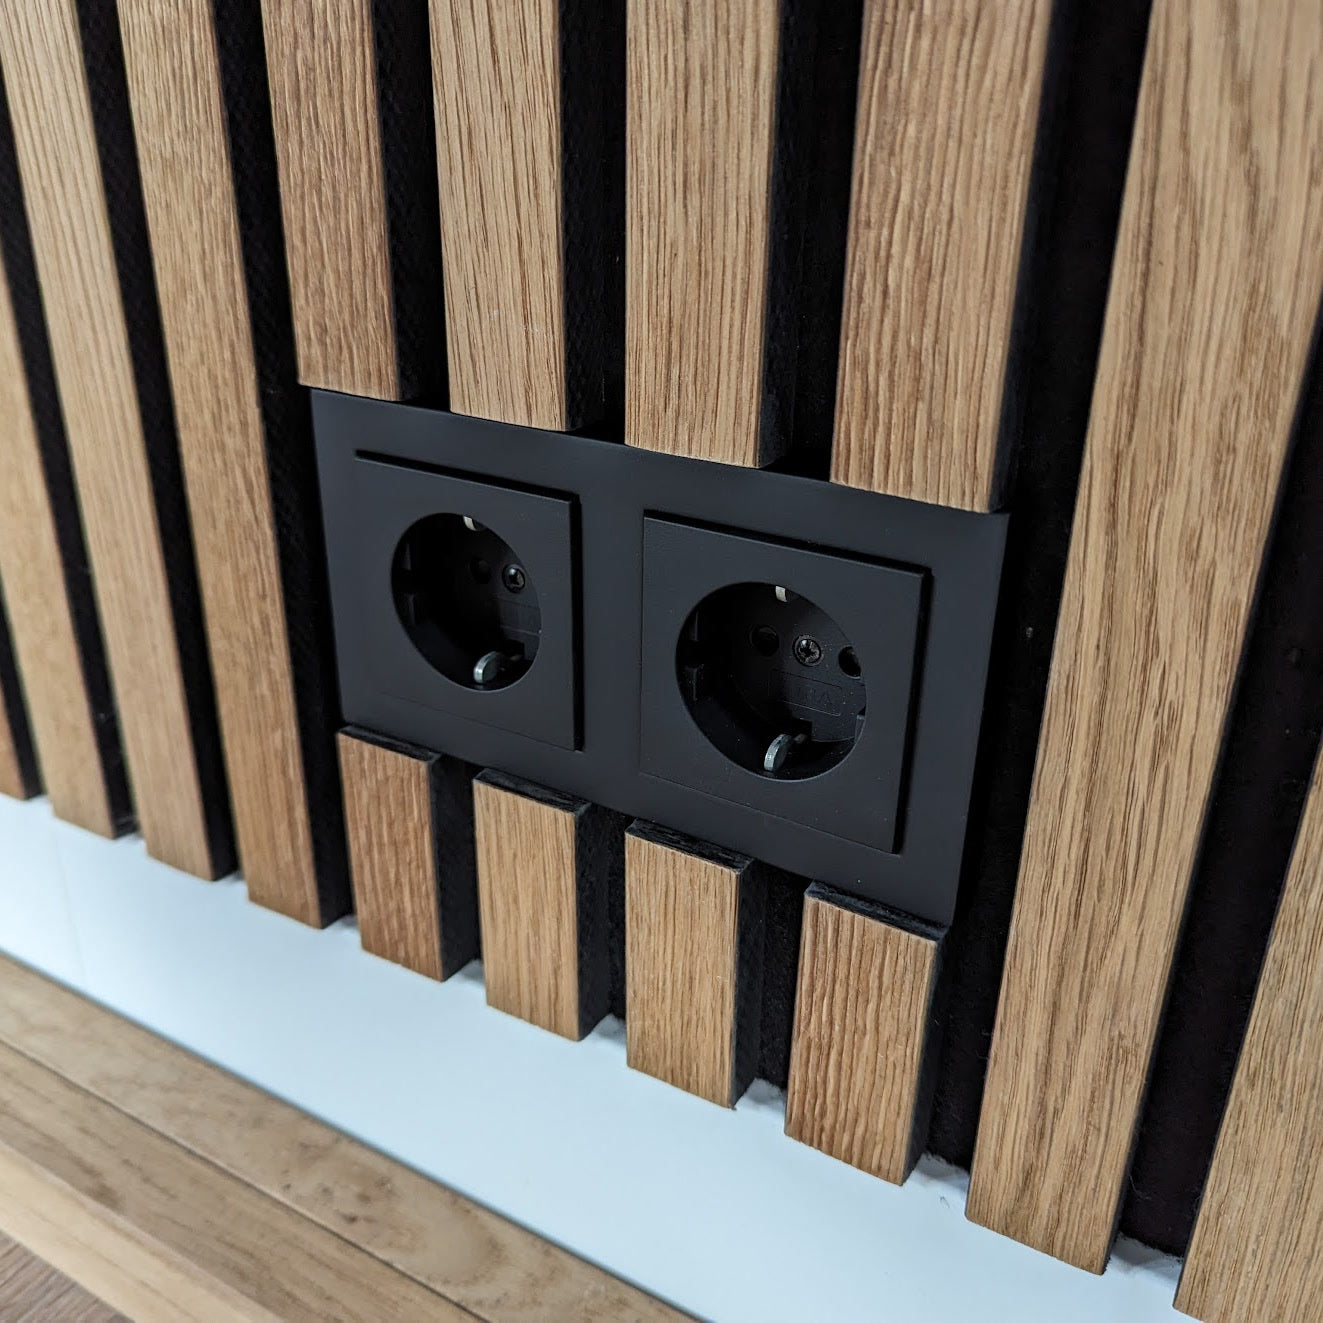
If there's room, two outlets side by side look calm and balanced.
On a wider panel wall, a double outlet set neatly into the slats gives the wall a sense of order. It's a small choice, but the eye notices it.
✔️ Best on wider walls
✔️ Lined up with the slats
✔️ Works on the panel or flush
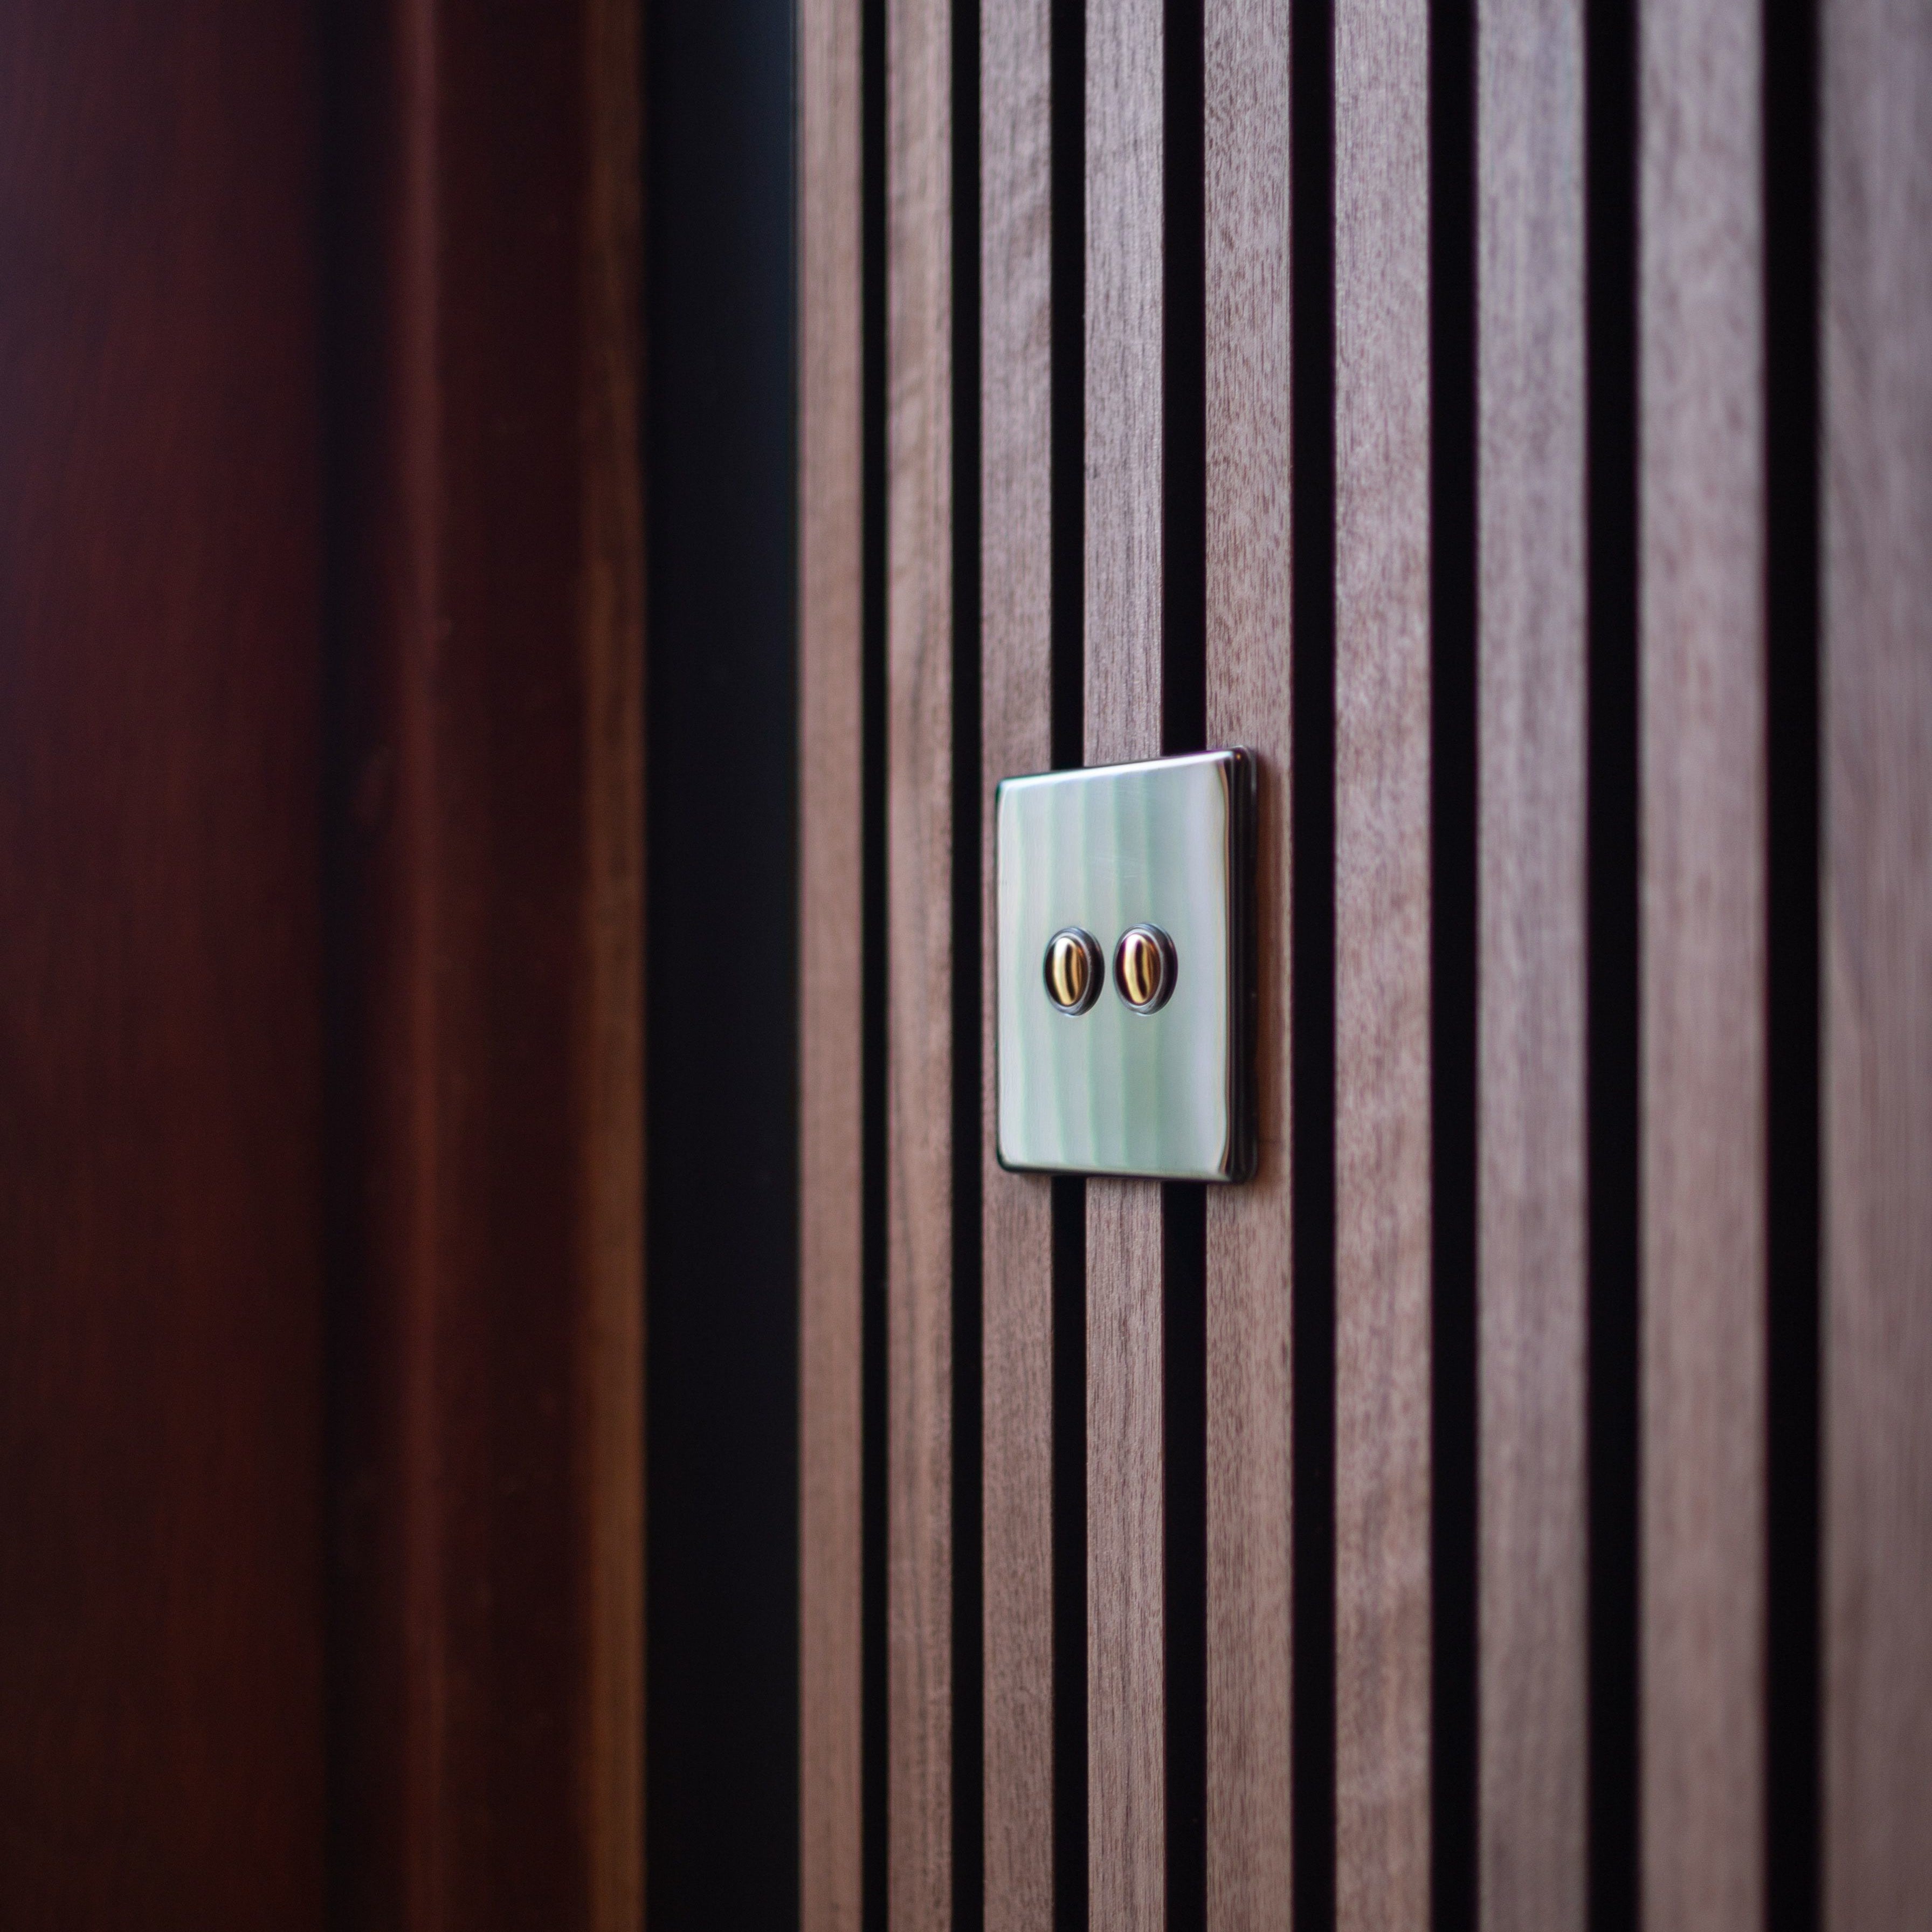
An outlet can be a detail you choose, not just one you live with.
Switches and outlets in materials like brass, brushed steel or matte black metal add a personal, high-end touch. Next to natural wood slats, they stop being purely practical and become part of your décor.
✔️ Brass
✔️ Brushed steel
✔️ Matte black metal
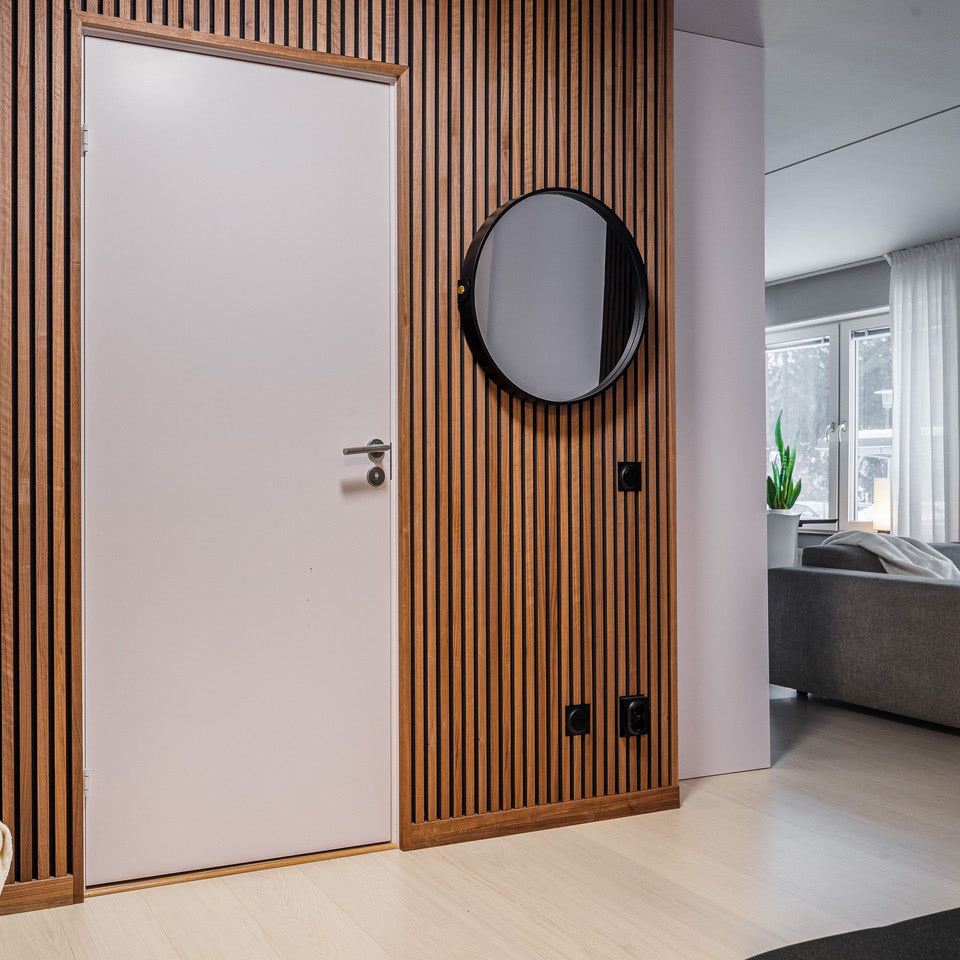
Matte black outlets and switches look right at home on a warm walnut wall.
Repeat the black in a few other details — a mirror frame, a hook, a shelf — and the whole wall feels carefully put together. Our Create accessories in black clip into the felt between the slats, so they're easy to add.
✔️ Matte black outlets and switches
✔️ Black details that echo them
✔️ Striking against walnut and darker woods
Explore Akupanel Walnut
Natural Wood, Walnut, Black Felt, 240 x 60 cm
Incl. GST, plus shipping
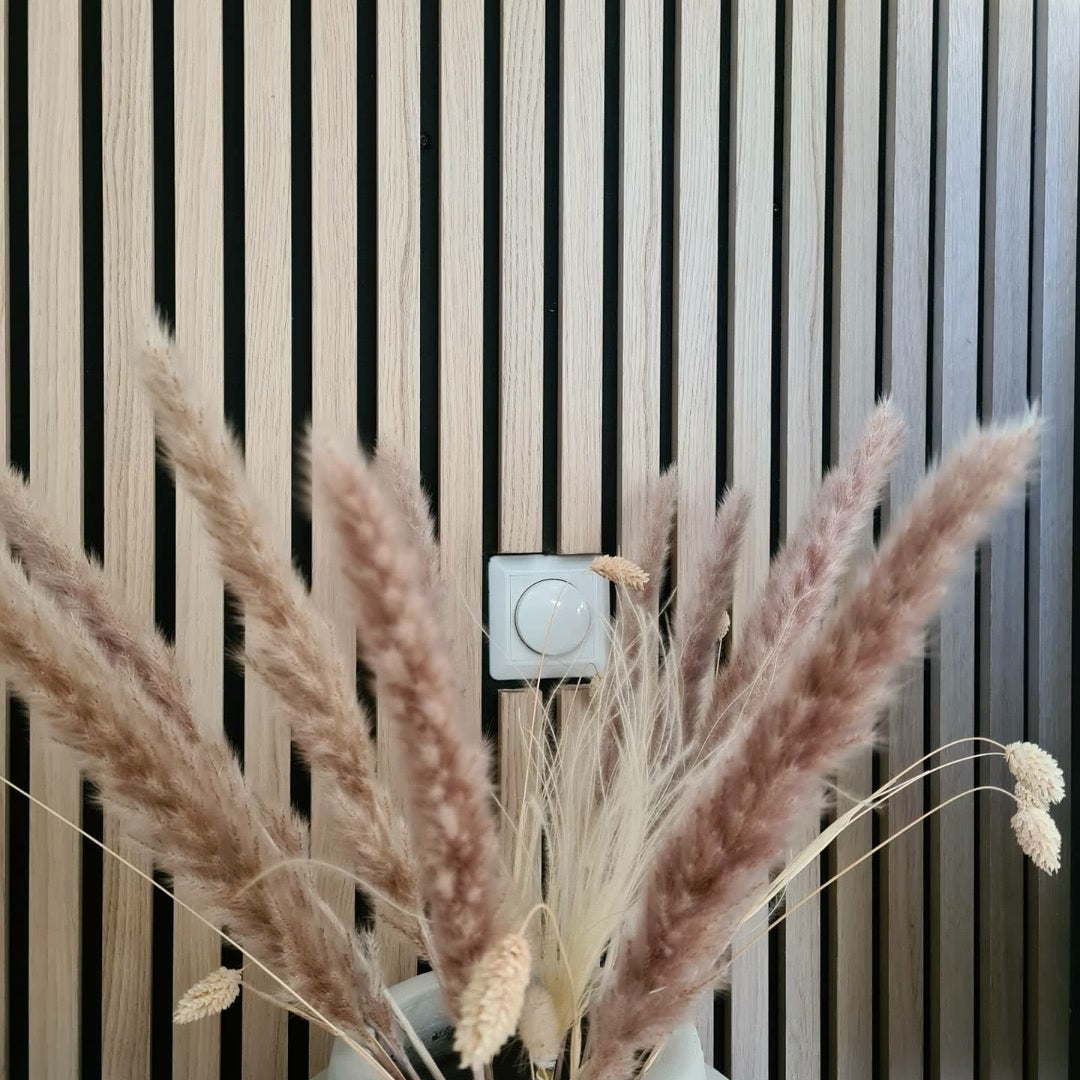
On light oak slats, a white outlet or dimmer keeps things fresh and Scandinavian.
It blends in rather than standing out — the right choice when you want the wood, not the fittings, to set the mood.
✔️ White outlets and switches
✔️ Light oak slats
✔️ A fresh, light, Scandinavian feel
On the panel or flush, a beautiful result starts with the right Akupanel for your room.
Order samples and hold them up against your wall, your outlets and your light before you decide.

More guides and ideas
Electrical Outlets in an Akupanel Wall
When mounting acoustic panels, electrical outlets and switches can often feel like an obstacle. However, when handled correctly, they can actually become a stylish design feature. Here are some ideas and tips on how to integrate them for a result that is both sleek and highly functional.
Read more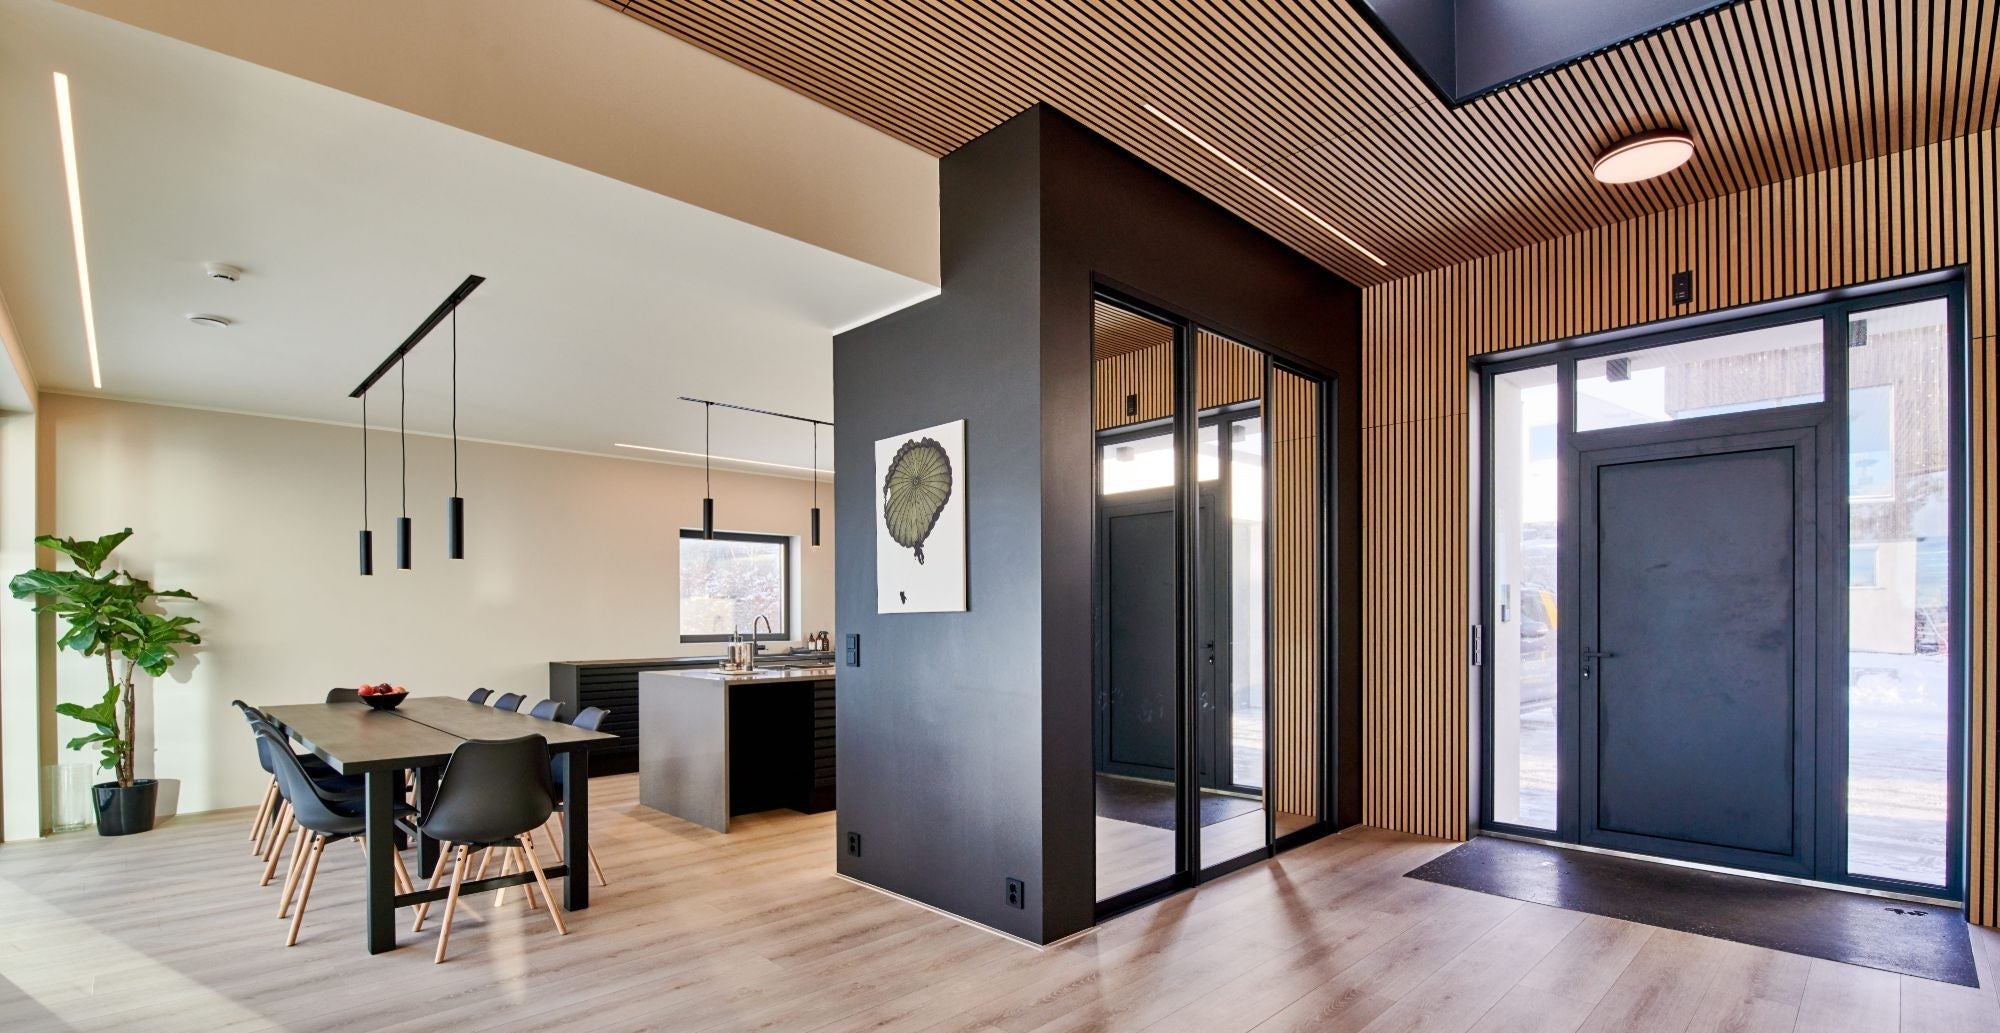
Acoustic Panels on the Ceiling
Akupanels aren't just for walls. They also look great on ceilings and can help improve the acoustics in your home. High ceilings, open floor plans, big windows and hard surfaces often create unwanted echoes and reverberation. By installing Akupanels on your ceiling, you can reduce these sounds while adding a beautiful design detail to your space.
Read more
Discover how End lamellas can elevate your panel wall to new heights
Akupanels come in two lengths, 240 cm and 300 cm. Your wall almost never does. Decorating with acoustic panels is an excellent way to improve both the acoustics and the aesthetics of your home. But what happens when you encounter challenges such as high ceilings? This is where our end lamellas come in as an elegant and practical solution.
Read more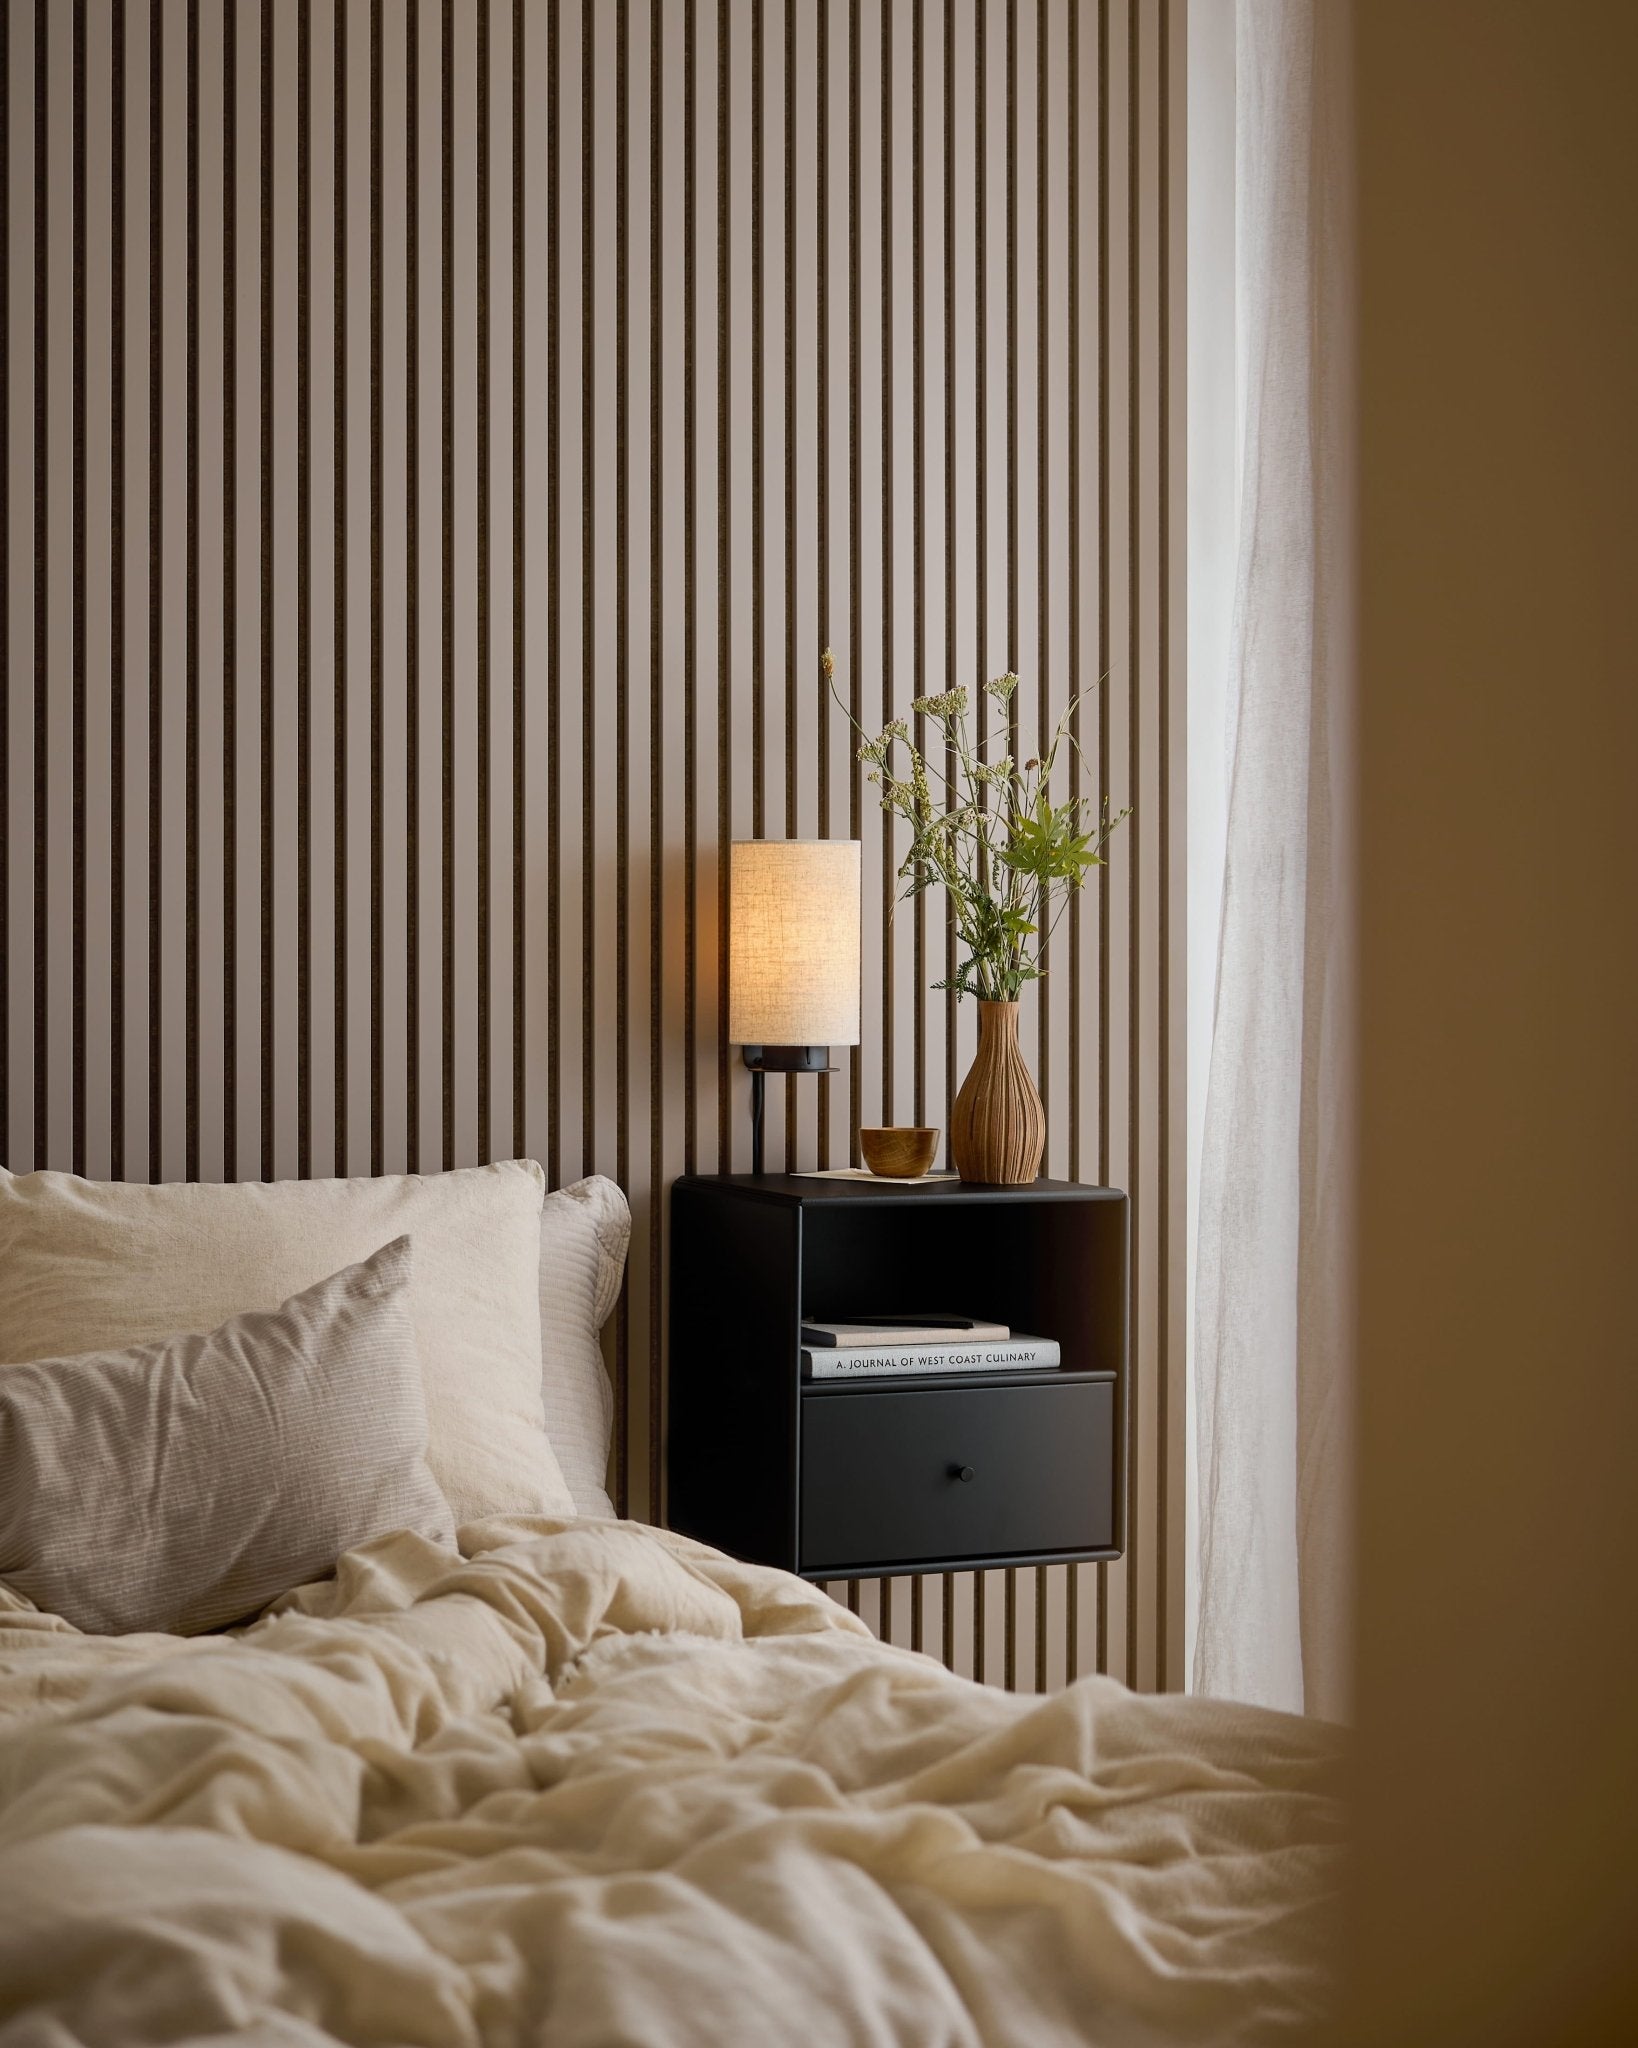
New from WoodUpp: Everything in Our September Launch
Two new Akupanel colors, Luva, Dupps and Arka for Create, Vigg and Vala for Embrace, and Aluwood in 295 cm. Everything new from our September launch, in one place.
Read more
8 Ways to Upgrade Your Akupanels Without Tools
You’ve seen Akupanels before. Maybe you even have them on your wall right now. But what if we told you — you could style them, organize them, even mount a TV on them... without drilling a single hole? That’s not a promise. That’s CREATE. WoodUpp CREATE is our smart collection of accessories made just for Akupanels. They’re easy to use, easy to love, and designed to evolve with your space. Let’s take a closer look at 8 accessories that instantly turn your panels into something personal — and powerful.
Read more
5 Simple Styling Tools to Elevate Your Dining Room
Architect Cecilie from WoodUpp shares her expert tips for a warm, harmonious space When we think about the heart of the home, the dining room often comes to mind. It’s where we gather, share meals, make memories — and ideally, feel at ease. But styling your dining room to reflect both functionality and beauty doesn’t have to be overwhelming.
Read more
More Than Panels - This Is What We Stand For
Calm, comfort and connection – the heart of WoodUpp design Your home isn’t just where you live. It’s where you belong. That idea shapes every product we design at WoodUpp. We’re not here to fill walls. We’re here to help you create a space that feels good – visually, physically, and emotionally.
Read more
LED lighting for your wall panels
Discover how you can transform your living room LED lighting is the latest trend in interior design and offers many benefits for transforming your rooms. Adding a LED light to your decor, especially due to its energy efficiency and long lifespan, can make a big difference.
Read more
The kitchen is often considered the heart of the home, a place where functionality meets aesthetics. With WoodUpp’s innovative acoustic wall panels, you can enhance both aspects, creating a space that is not only beautiful but also acoustically optimized.
Read more
The dining room is more than just a place to eat; it’s where stories are shared, memories are made, and gatherings come to life. To elevate this central space in your home, WoodUpp’s innovative acoustic wall panels would be ideal.
Read more
Choosing the perfect Akupanel color
Acoustic panels are an excellent way to enhance both the aesthetics and sound quality of a room. Not only do they add visual appeal, but sound-absorbing panels also improve acoustics by absorbing sound waves and reducing echoes.
Read more
Are you, like us, captivated by home decor and forever hunting for new inspiration and trends? Then you’ve come to the right place!
Read more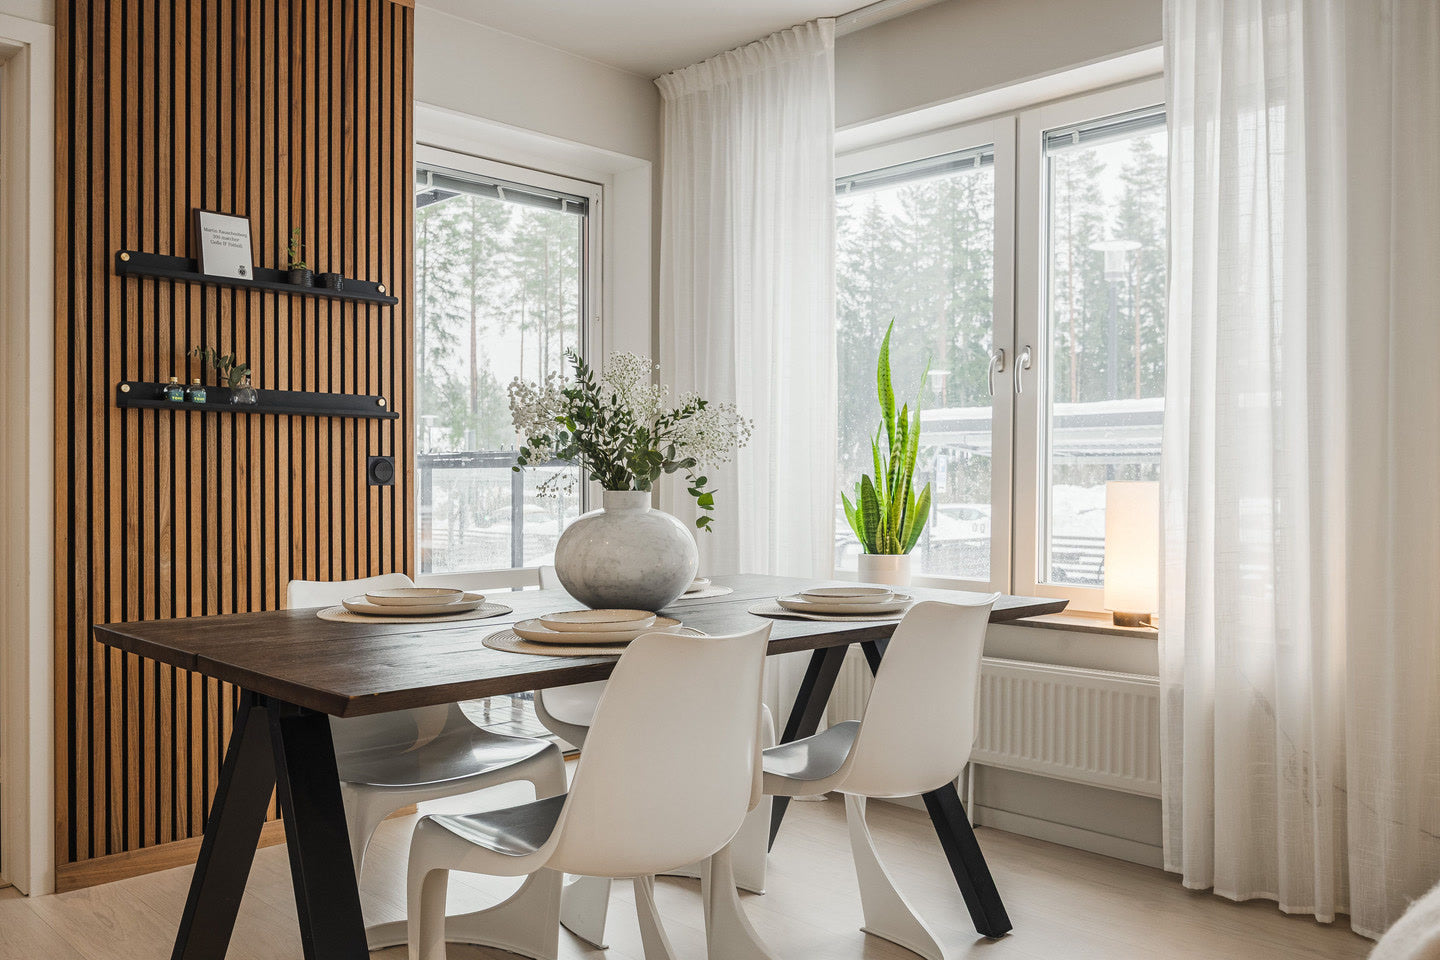
Find the Akupanel that suits your room — and every detail on it.
$0.00
